Tired of embarrassing typos and grammar mistakes in your professional emails? Then Grammarly is the best solution. It is an intelligent writing assistant that provides grammar and spelling suggestions, making your emails look professional and polished.

However, adding Grammarly to Microsoft Outlook can be tricky, especially if you are not tech-savvy. In this article, we will guide you step-by-step through adding Grammarly to Outlook. You can use Grammarly in your Outlook emails to ensure they are error-free and impressive.
So, let’s get started and make your email game stronger with Grammarly in Outlook.
Things to Have Beforehand To use Grammarly with Microsoft Outlook:
Before getting straight to how to link Outlook and Grammarly, let’s first know what you need to have beforehand to continue with these steps. The things that you need to have beforehand are as below.
- A Microsoft Office subscription or any way to access Outlook and use it.
- An internet data connection for downloading the key file of Grammarly
- A Grammarly account for using its app or plugin on your device.
You can start following the steps below if you have all of these.
How to Add Grammarly to Outlook: Detailed Guide!
Adding Grammarly to Microsoft Outlook is a straightforward procedure. Even the Grammarly app provides a guide on how you can do so. But read the steps below to get a better and more concise way of doing so.
1. Visit Grammarly Page:
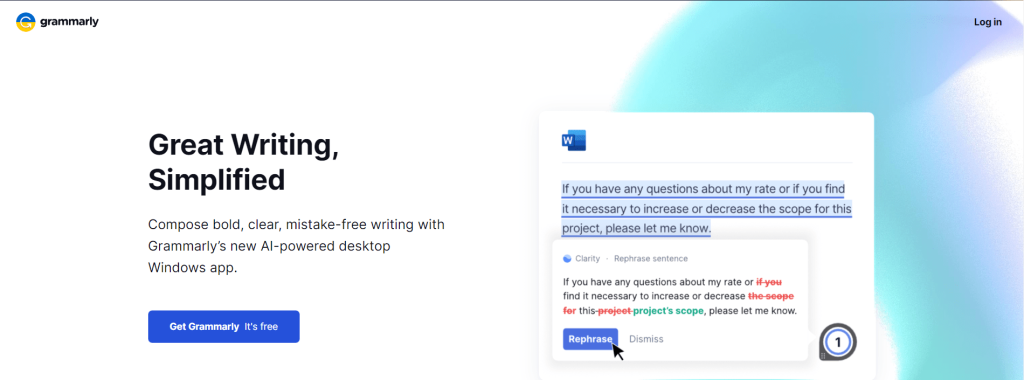
You have to visit Grammarly’s home page on your laptop or PC. You can do so by opening the browser and typing in Grammarly in the search bar or typing www.grammarly.com.
2. Login:
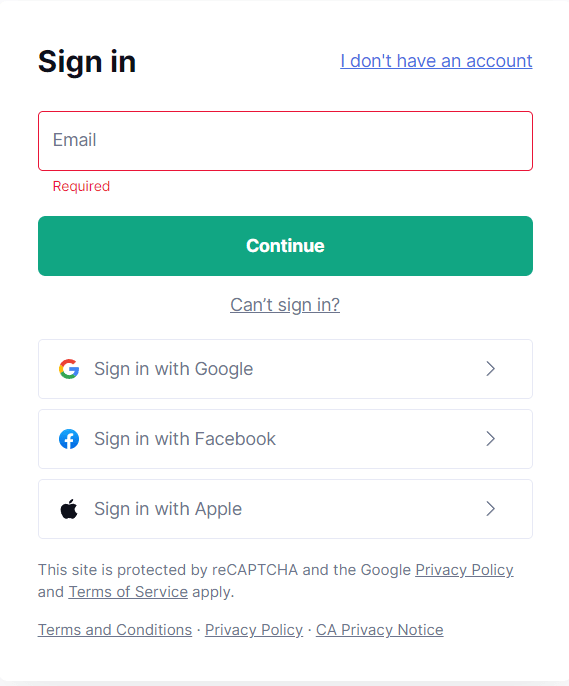
After opening the Grammarly website, click on the upper right-hand text saying Log In. You’ll get the option to either login or sign up if you don’t have an account yet. If you have an account, you can log in straight away; if not, making a new Grammarly account hardly takes more than three to four minutes.
After making the new account, you can log in with the ID and password. Work around the platform a bit as a good rule of thumb. After using and going around it for a bit, you will get used to its software and how it works.
3. Click on “Apps.”
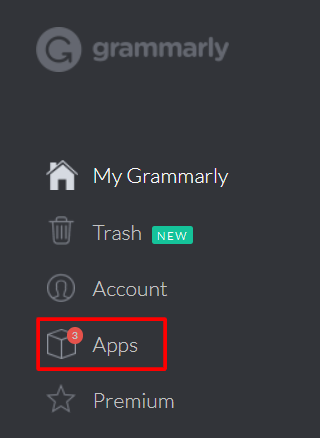
On the left-hand side of your dashboard, you’ll find four options; three if you have already taken Grammarly Premium. Then, on the home screen, you need to click on the button saying “Apps.” Then, on clicking it, three options will pop up in place of the documents section.
4. Choose Grammarly for Microsoft Office:
Once you click on Apps, three questions on your screen will ask for your download purpose. The first option will be the app for Microsoft Office, the second will be for Windows, and the third will be the extension for Chrome.
You need to choose the first option and click on the install button in front of the text saying “Grammarly for Microsoft Office.” The download will begin within a few seconds after you click on Install. After it downloads, you can see it as an add-in at the bottom of your screen.
5. Run it:
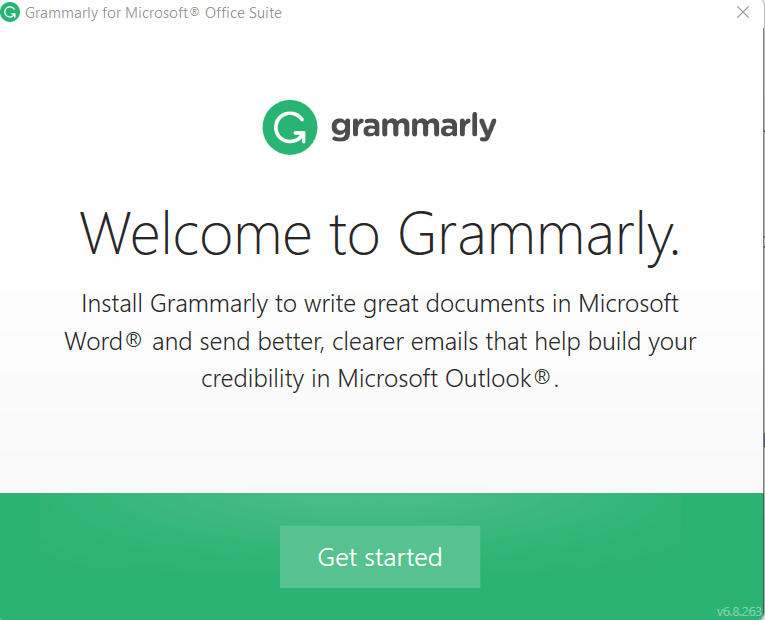
The downloaded file will be in the format of .exe. When you click on it, a security confirmation message will pop up on your screen, asking if you want to install this extension on your device. Then, you have to click on the option saying “Run.”
The app’s installation process will begin once you click on it. Then a button saying “Get Started” will appear at the bottom of the pop-up on your screen.
6. Choose the product:
After you click the “Getting Started” button, the Grammarly window will open and ask you to choose whether you want to install Grammarly for Word or Outlook. For ease of usage, select both options and click Install.
7. Install and Finish:
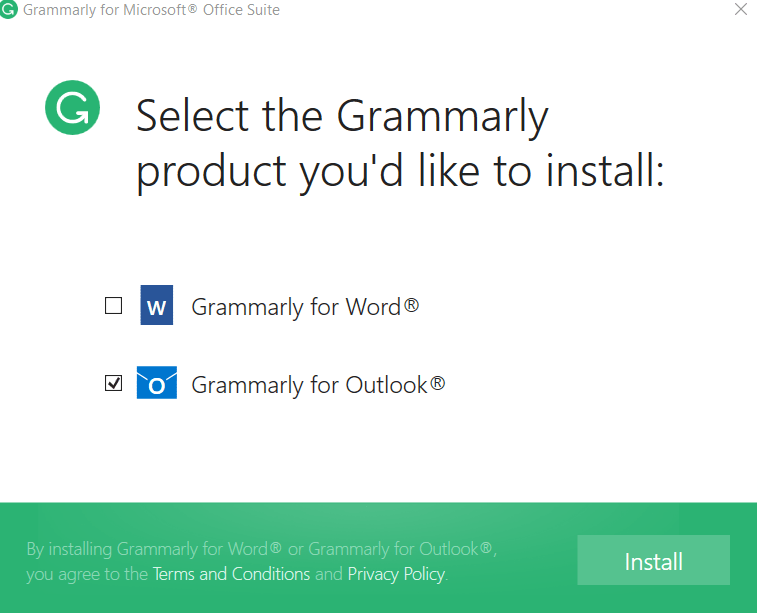
The installation process will take some time, depending on the different features of your pc or laptop. In some time, the process will get completed. For example, you might have to check its completion status several times to know when it is completed. When it does, you need to click on Finish.
To ensure no additional problem, check that no Microsoft product is open during the Grammarly add-in installation.
8. Open Outlook:
Open a new window of Outlook, and you will notice a green button with the “Grammarly” icon on it at the window’s top-right corner. To open Grammarly software, click on “Enable Grammarly.”
And there you have it, Grammarly on your Outlook, and no more problems with grammar in your emails.
Grammarly Pricing:
Grammarly offers three pricing plans: Free, Premium, and Business.

1. Free Plan: Grammarly Free offers basic grammar, spell check, and punctuation corrections across websites and documents. Checks are limited per month.
2. Premium Plan: Grammarly Premium provides advanced writing feedback on vocabulary, tone, style, and more for $12 per month, billed annually. Also includes plagiarism checks and genre-specific writing assistance.
3. Business Plan: Grammarly Business starts at $15 per member per month, billed yearly for teams. Provides tailored writing help for business communications, admin controls, and vocabulary auditing.
Grammarly vs Microsoft Editor: Which writing assistant is the best?
Grammarly and Microsoft Editor are two of the most popular online writing assistants that help writers improve their grammar, punctuation, and writing style. Both tools have their unique strengths and weaknesses.
While Grammarly excels in identifying and correcting grammar errors, Microsoft Editor focuses more on style and clarity. Grammarly also has a wider range of features, including plagiarism detection, whereas Microsoft Editor focuses on providing suggestions for better writing.
Regarding pricing, Grammarly offers a free version with limited features and a paid premium version, while Microsoft Editor is integrated into Microsoft Office, which requires a subscription.
Ultimately, the choice between Grammarly and Microsoft Editor depends on your writing needs and preferences. Grammarly may be better if you need a more comprehensive grammar checker.
However, the integrated Editor tool may be more convenient if you mainly write in Microsoft Office.
Related Read:
Conclusion:
Grammarly provides a direct add-in to Microsoft Outlook with minimal to no problems after you link it with the platform. Using Grammarly is quite easy as well. All that you need to do is click on open Grammarly after you’re done writing your text. Grammarly does not fix everything by itself. Instead, it provides suggestions to the user, which you can take or dismiss.
We hope our article helped you add Grammarly to Outlook!
Frequently Asked Questions:
How do I get Grammarly for Outlook?
Grammarly offers an add-in that integrates directly with Outlook. You can download and install the add-in for free from the Grammarly website.
Does Grammarly work for Outlook on the web?
No, the Grammarly add-in is only available for the desktop versions of Outlook. The browser extension will check emails on Outlook on the web.
Does Grammarly for Outlook work for both Windows and Mac?
Yes, the Grammarly add-in works with both Windows and Mac versions of supported Outlook desktop clients.
